How to make movies for YouTube with Mac YouTube Movie Maker
YouTube is the most popular site for viewing videos online. That’s because YouTube makes it easy to upload your video. Making a YouTube video is a way to share your photos, videos and thoughts with a worldwide audience. By following the steps in this tutorial, you can learn all you need to know about how to make & edit videos, upload, and share a YouTube video of your own online.
To make a movie for YouTube on Mac, what you need to do is downloading a YouTube Movie Maker for Mac. After installing YouTube Movie Maker for Mac, launch it.

Download YouTube Movie Maker for Mac for free
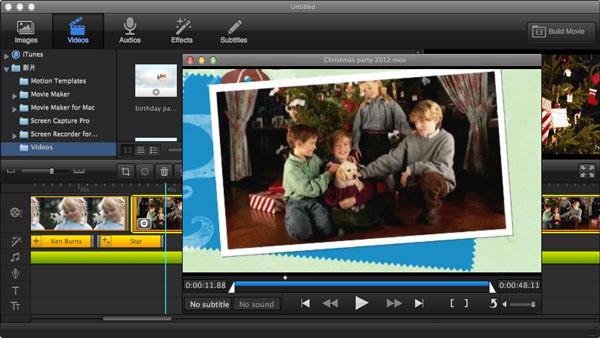
Step 1: Add/Edit your favourite photos & videos into YouTube Movie Maker for Mac
Simply drag as many photos and videos as you want and drop them into timeline. YouTube Movie Maker for Mac is very easy to use. You can add multiple media content at the same time. To edit videos for YouTube, just double click the video on the timeline and start trimming videos.
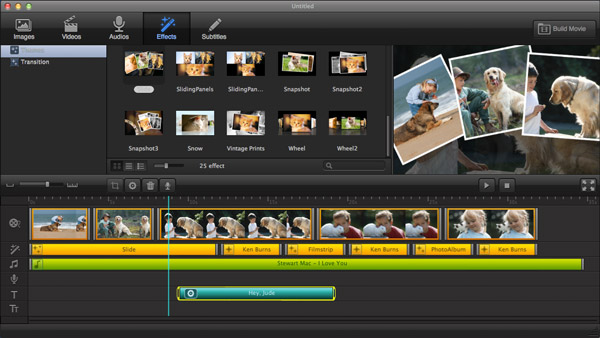
Step 2: Set the effects for making YouTube movies on Mac
There are three kinds of effects: transition, Ken burns and theme. Transition is the effect between two slides showing how the next slide replace the current one. Ken burns is a type of panning and zooming effect. Theme effect is made with a mixture of some transitions & ken-burns effect.
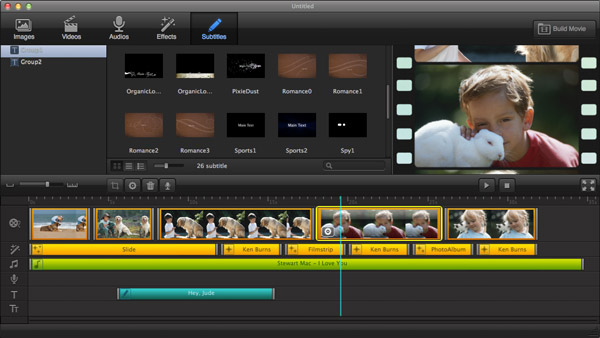
Step 3: Add background music and subtitles for making movies for YouTube on Mac
Get your favourite songs and drag-n-drop to YouTube Movie Maker to match your movie as background music. If you would like to add some subtitles, you may choose from nearly 50 kinds of subtitles.
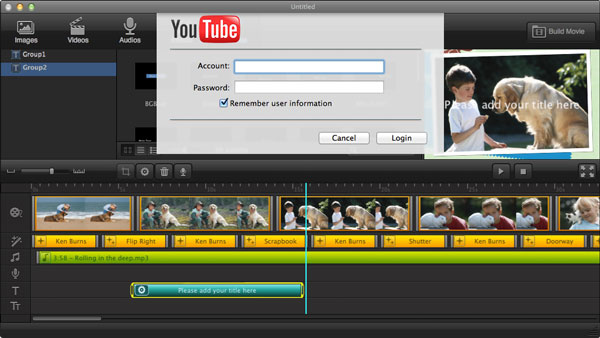
Step 4: Publish your movies to YouTube directly from YouTube Movie Maker on Mac
To see how your movie looks like, you may preview it before publishing. If you feel satisfied with your movie, you can upload to YouTube directly from YouTube Movie Maker for Mac.
Download YouTube Movie Maker for Mac for free trial! Or get it online now!
Version: 2.3.2 Only $29.99