How to use Ephnic Screen Recorder for Mac
Ephnic Screen Recorder for Mac is a super easy-to-use screen recording software for Mac users to record the screen activities and save as videos. Download Ephnic Screen Recorder for Mac now and launch it. With this screen recording software, you can easily make video tutorials and video guides by yourself.

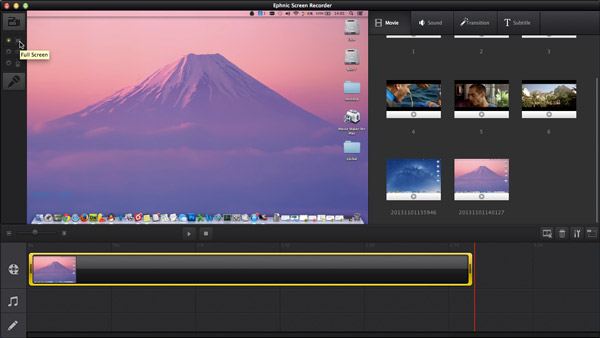
Step 1: Start screen recording with three modes in Screen Recorder for Mac
There are three options for you to record your computer screen. You can choose ‘Full Screen’ to record everything on your computer screen. If you would like to record a specific area of your screen, just choose ‘Custom Screen’. Or you’re able to record a specific application window by clicking ‘Fix Window’.

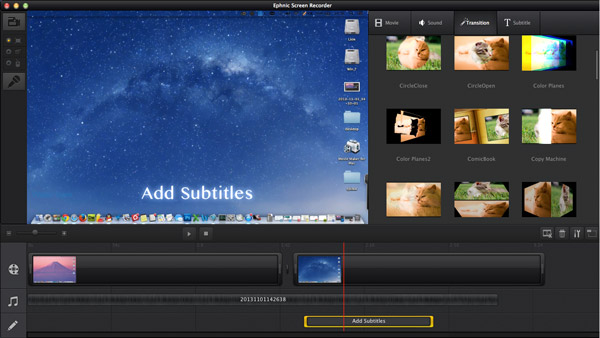
Step 2: Add voice narrations, transitions & subtitles for your movies
After capturing your screen, you may add as many voice narrations as you want. If you would like to remove some portions of your screencast, just double click the video and trim it as you want. To join multiple screencasts, you can add transition effect between two videos. And there are nearly 30 kinds of subtitles available for you to choose from.

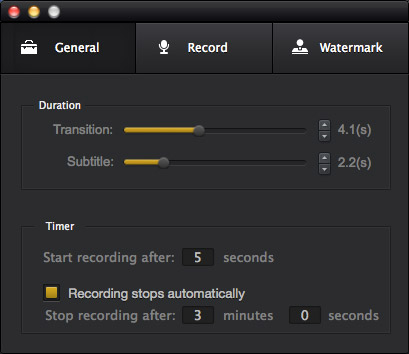
Step 3: Change settings for your captured video in Ephnic Screen Recorder for Mac
Click the ‘Setting’ button to change the settings for your captured video. You can set the resolution, quality and frame rate for output video. If you’d like to make a video tutorial, you’re able to capture mouse movements and record your own voice as narration. To make the video as a demo, you can add a special text or image watermark on it.

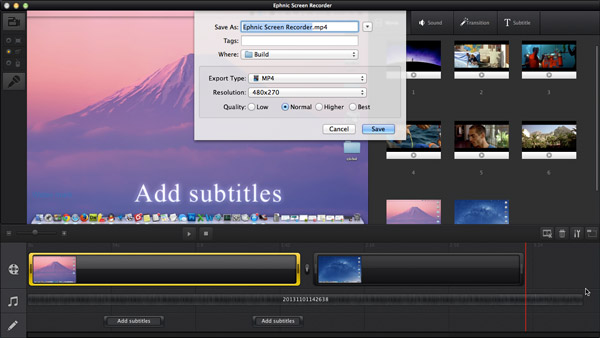
Step 4: Set output format and start publishing your videos
There are several output video formats available for you. You can save your screencasts for watching on your Apple devices, like iPod, iPad, iPhone, etc. Also, you may save as AVI, MP4, MOV videos for better compatibility. If you would like to share your screencasts with everyone on YouTube/Facebook, you're able to do it directly with Ephnic Screen Recorder for Mac.


